
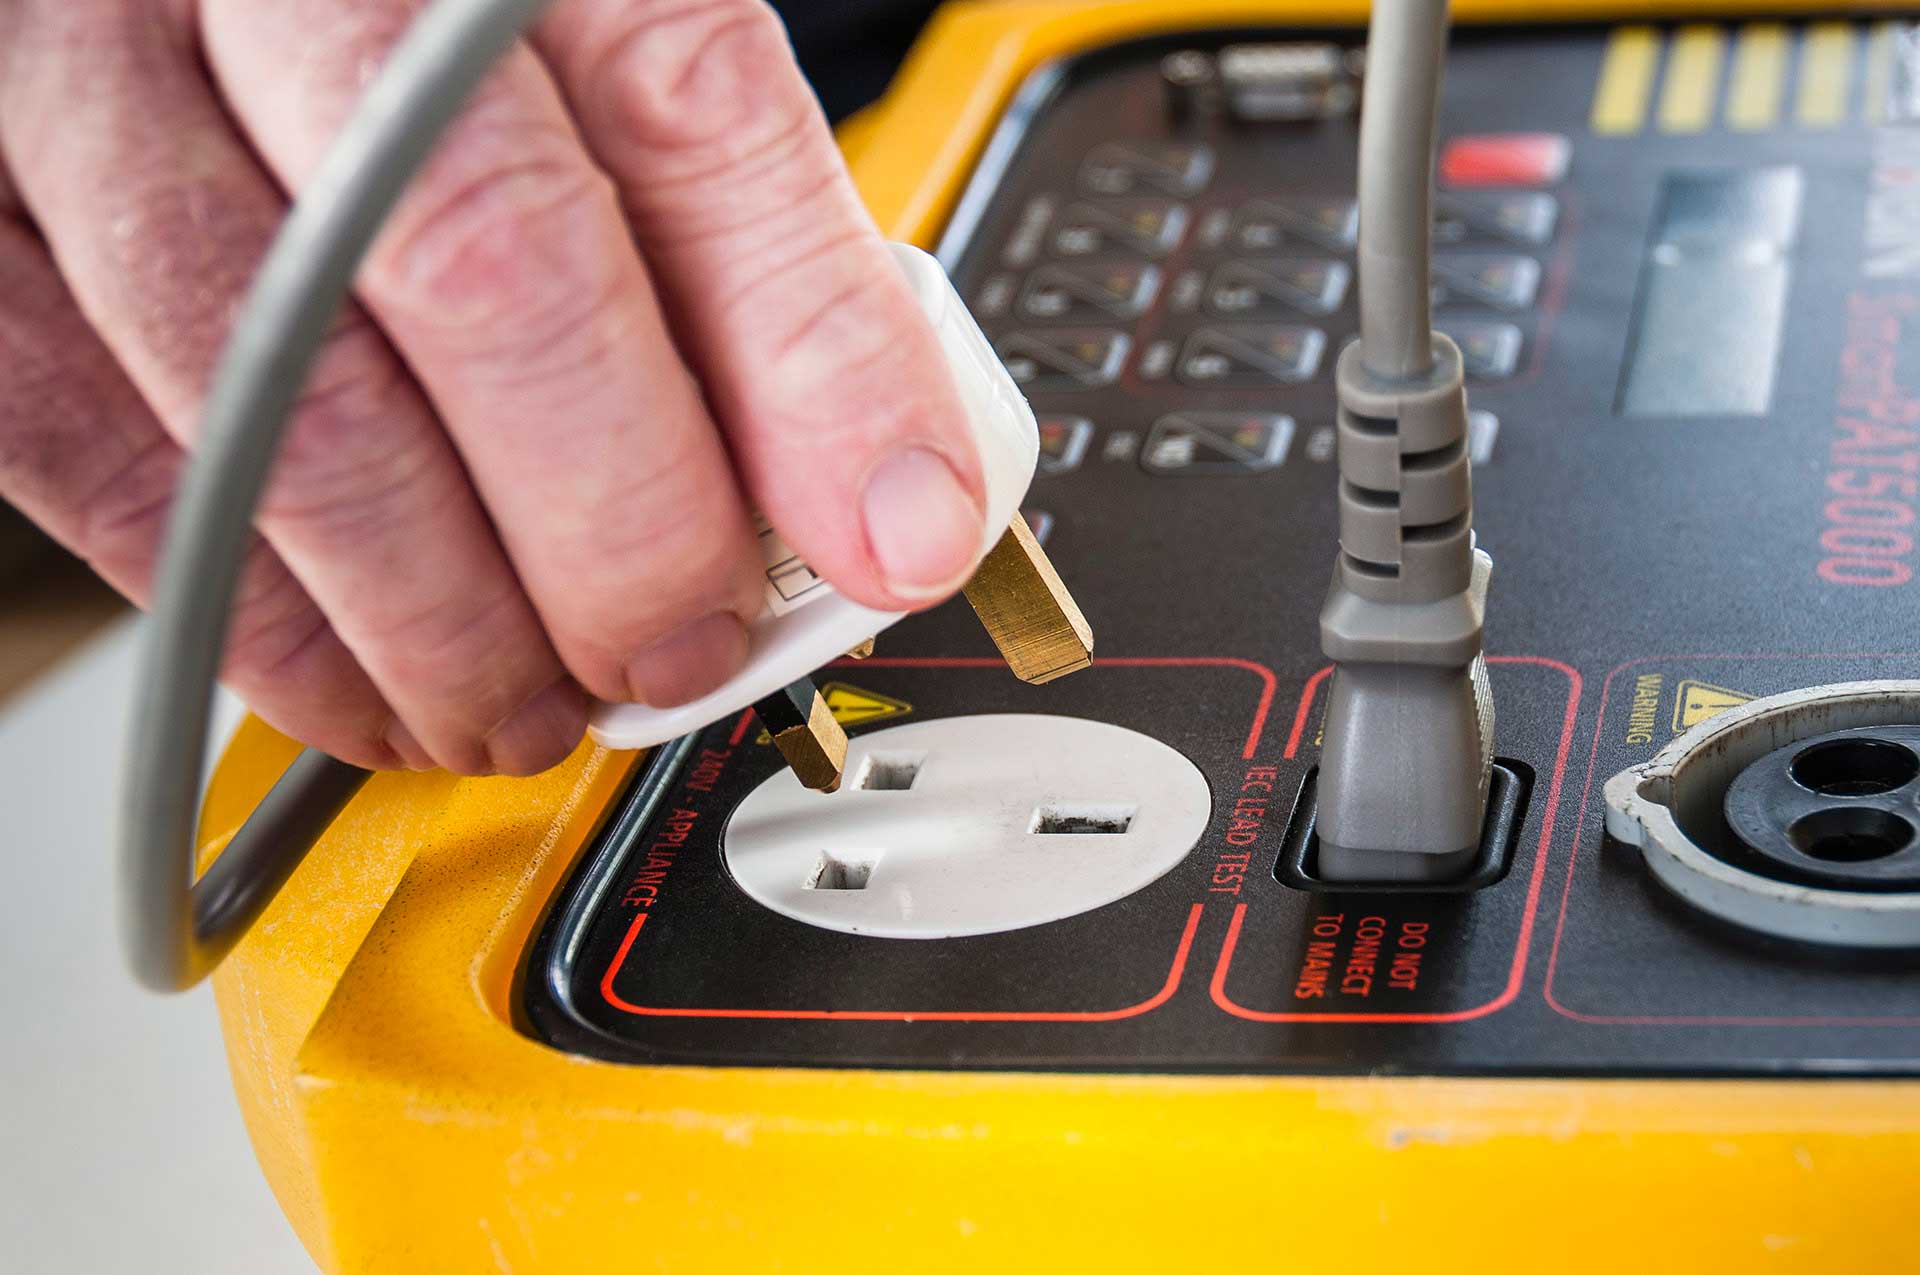
Our guide to PAT Testing

Pat testing new

Did you know that you don’t have to be a qualified electrician in order to carry out PAT testing?

As long as you’re competent to do so, absolutely anyone can check electrical appliances for safety. The most commonly accepted way to be seen as competent is to take a PAT training course and be presented with a Certificate of Competency in PAT testing.

What is PAT Testing? 

Portable Appliance Testing, also known as PAT testing, is the examination of portable electrical equipment and appliances to ensure they are safe to use. It generally includes three steps; 

  1. Regular, informal checks by the electrical equipment’s user(s) 
  2. A formal visual inspection of the equipment 
  3. A manual examination of the equipment with a portable appliance tester device (the PAT test)

Any portable electrical appliance (anything with a lead and a plug) needs to be PAT tested. Some examples include laptops and computers, kettles, handheld drills, printers, microwaves etc.

Is PAT testing a legal requirement? 

PAT testing is not a legal requirement. The law does state that any electrical equipment in the workplace must be maintained to ensure it is safe and doesn’t pose any risk to the people using it. It doesn’t, however, specify how the equipment should be maintained, or how often. 

PAT testing is recommended by professionals as the best way to meet these health and safety obligations and to protect yourself and your employees. 

What does electrical PAT testing involve?

Generally, PAT testing involves three steps, user checks, a visual inspection and the manual PAT test using a portable appliance tester. 

User checks

All users should be trained on how to use the equipment safely. This includes understanding the risks associated with the equipment and how to look out for signs of danger. Every individual should be able to visually check the appliance for any signs of damage and understand whether or not it is safe for use. They should also be able to highlight potential hazards such as trapped cables or water hazards. 

Visual inspection 

A formal visual inspection should be carried out by a competent member of staff or a professional (an electrical engineer). The HSE says that this process normally flags up 90% of issues with electrical equipment. The equipment should be switched off and unplugged before carrying out this stage of the inspection. 

  • Check the plug for any signs of damage. This includes cracks, burns, or bent pins. When checking the wiring, you should ensure that the live, neutral and earth wires are all tightly connected. 
  • Check the cable for any signs of damage. This could be cuts or fraying. Any exposed wiring is a fail.
  • Check the appliance itself for damages. This includes cracks, burns, corrosion or other signs of wear and tear.
  • Check the mains socket for damages. This doesn’t relate to the appliance itself, but it’s worth checking for cracks, signs of overheating and any loose fittings on the plug socket. 
  • Residual current device (RCD) checks. The RCD’s test button will trip if the current flowing through the live conductor is different to that in the neutral. 

Manual Examination 

Once the visual inspection is complete, it’s time for the manual examination. This is the stage of the Electrical PAT Testing where the portable appliance tester device is introduced. This device will test the appliance for earth continuity, lead polarity and insulation resistance.

Depending on the results, the appliance will receive a pass or fail sticker. Failed appliances should not be used, and should be removed for disposal or repair. Once repaired, it must pass an additional PAT test to be considered safe for use. 

Who can carry out a PAT test? 

Electrical PAT testing can be carried out by any competent person with the relevant training and equipment. This will likely be a qualified electrician. Interested in learning how to perform PAT testing and other electrical procedures? You might want to consider completing an electrical course.Get in touch with The Skills Centre to learn more about becoming an electrical engineer, or read more about our courses on our website!
Post Info :
Share this :

Other posts you may like

What You Learn on a Plumbing Course: Skills, Units and Practical Work

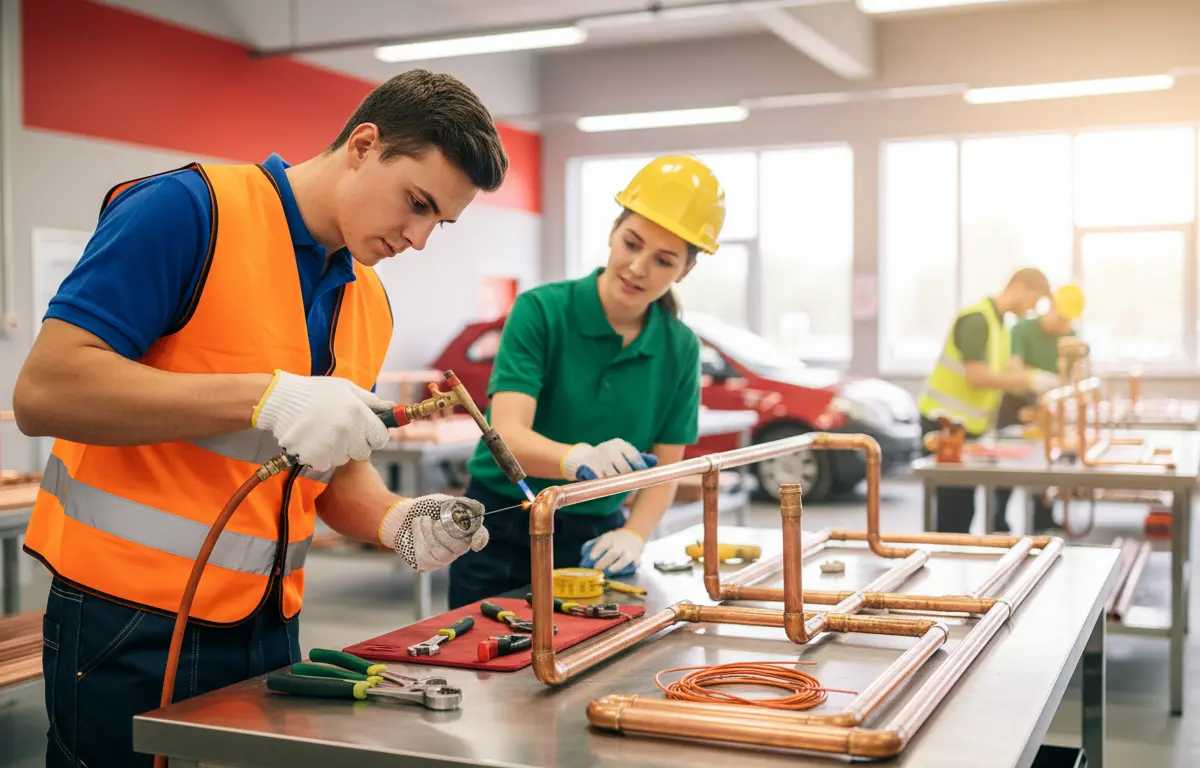
Trainee plumber practising copper pipe jointing with a tutor in a workshop

If you are thinking about a plumbing course, one of the first questions is usually simple: what will I actually be doing all day? The honest answer is a mix of learning how systems work and getting your hands on real materials and tools.

This guide walks through the main subjects and practical tasks you can expect on a plumbing course, so you can picture the training before you commit. Exact units and assessment methods vary between providers, so always ask for the full course outline before you enrol.

The core knowledge every plumber needs

Before you cut a single pipe, you need to understand what you are working with. Early lessons usually cover:

  • The tools of the trade and how to use them safely and accurately
  • Common pipe materials, such as copper and plastic, and where each one is used
  • Fittings, valves and fixings, and how to choose the right one for the job
  • Reading simple drawings and diagrams
  • Basic maths for measuring, calculating lengths and working out quantities
  • How water behaves in a system, including pressure and flow

This foundation matters because every later skill builds on it. A plumber who understands why a system works can fix it when it does not.

Pipework, jointing and bending skills

This is the part many learners look forward to most. Pipework is the heart of the trade, and it takes repetition to get right.

Cutting and preparing pipe

You learn to measure, mark and cut pipe cleanly, then deburr and prepare the ends so joints seal properly. Neat preparation makes everything that follows easier.

Jointing methods

Expect to practise several ways of joining pipe, which commonly include:

  • Capillary (soldered) joints in copper
  • Compression fittings
  • Push-fit connectors
  • Joints used with plastic pipework

Each has its place. Part of the learning is knowing which to use and why, as well as how to test a joint for leaks.

Bending

Bending pipe lets you change direction without adding extra fittings. You practise using bending equipment to form offsets and sets, then check them against a plan. It is fiddly at first, and most people find their accuracy improves quickly with practice.

Hot and cold water systems

Once you can make sound joints, you apply them to complete systems. Training on domestic hot and cold water typically covers:

  • How cold water reaches a property and is distributed around it
  • How hot water is produced and stored
  • Taps, valves, cisterns and other common components
  • Fitting and connecting sanitaryware such as basins, baths and toilets
  • Pressure testing, flushing and commissioning a system
  • Fault finding, such as leaks, poor flow and airlocks

Many courses use practice booths or rigs, so you build a working installation, test it and then work through problems. Doing the job properly and then diagnosing what has gone wrong is excellent preparation for real call-outs.

Drainage and sanitation basics

What goes out matters as much as what comes in. Drainage and sanitation teaching introduces how waste water leaves a building safely and hygienically.

You can expect to learn about:

  • Waste pipes from sinks, baths, showers and appliances
  • Traps and why they hold a water seal
  • Soil and vent pipework
  • Correct falls (gradients) so waste flows away properly
  • Common causes of blockages and slow drainage

This area rewards care and planning. A badly sloped waste pipe can cause problems for years, so tutors tend to focus on getting the layout right first.

Health and safety on site

Safe working is part of every task, not a separate subject you tick off. A plumbing course will normally include:

  • Identifying hazards and assessing risks before starting work
  • Safe use of hand tools, power tools and heat sources
  • Manual handling and working at height
  • Personal protective equipment and when to use it
  • Working safely in customers' homes and respecting their property
  • Awareness of the risks around water, electricity and, where relevant, gas

The last point is worth noting. Plumbers often work close to gas appliances and electrical supplies, so knowing your limits is a key part of the trade. Work on gas appliances and pipework must be carried out by a Gas Safe registered engineer, which is a separate route from general plumbing.

How practical and theory learning fit together

A good plumbing course balances classroom learning with workshop time. They support each other.

Theory gives you the reasons: how a system is designed, what the regulations are aiming to achieve and why certain methods are preferred. Practical sessions then let you apply that straight away, so ideas stick.

A typical pattern looks like this:

  1. Learn a concept, such as how a particular type of joint works.
  2. Watch a tutor demonstrate it.
  3. Try it yourself, make mistakes and refine your technique.
  4. Have your work checked and receive feedback.
  5. Repeat until it becomes second nature.

You are usually assessed through a mix of practical tasks and knowledge checks. If you want to know how long the process takes, our guide on how long a plumbing course takes explains what affects the timeline. Your own pace, previous experience and the way the course is structured all play a part.

Where the course can take you next

Finishing a plumbing course gives you a solid base to build on. Some people head into work with a plumbing firm, while others aim to become self-employed over time. Many also use plumbing as a stepping stone into related skills.

If working with gas appeals, you could look at a gas engineer course, or a gas plumbing course that combines both areas. If you are still weighing up how to train, it helps to compare an apprenticeship or a course to see which fits your circumstances. Skills Centre UK also offers a plumbing apprenticeship and a gas engineer apprenticeship, for people who want to learn while working.

For a wider view of training choices and what comes after, our plumbing course guide is a good next read. And if you are changing careers later in life, our page on adult plumbing courses covers what to think about.

Frequently asked questions

The answers below give a quick overview. Your course provider can confirm exact details.

Ready to find out more?

If you would like to see how a plumbing course could work for you, get in touch with the Skills Centre UK team. We are happy to talk through the content, answer your questions and help you decide whether a course or an apprenticeship suits you best, wherever you are in the UK.

Frequently asked questions

What do you learn on a plumbing course?

You learn the core knowledge and skills of the trade: tools and materials, cutting, jointing and bending pipe, hot and cold water systems, drainage and sanitation, and health and safety. Theory and hands-on practice are combined throughout.

Is a plumbing course mostly practical?

Most plumbing courses include a large amount of practical work alongside classroom learning. Theory explains how and why systems work, and workshop sessions let you apply it with real tools and materials.

Do you need experience before starting a plumbing course?

Many plumbing courses are designed for beginners, so previous experience is not always needed. Check the entry requirements for the specific course and ask the provider if you are unsure.

Does a plumbing course cover gas work?

A general plumbing course focuses on water, heating-related pipework and drainage. Working on gas appliances requires separate gas training and Gas Safe registration, which you can pursue through a gas engineer course or a combined option.

What can I do after completing a plumbing course?

You can look for work with a plumbing company, build experience towards self-employment, or continue into related training such as a gas engineer course.