
Our guide to PAT Testing

Pat testing new

Did you know that you don’t have to be a qualified electrician in order to carry out PAT testing?

As long as you’re competent to do so, absolutely anyone can check electrical appliances for safety. The most commonly accepted way to be seen as competent is to take a PAT training course and be presented with a Certificate of Competency in PAT testing.

What is PAT Testing? 

Portable Appliance Testing, also known as PAT testing, is the examination of portable electrical equipment and appliances to ensure they are safe to use. It generally includes three steps; 

  1. Regular, informal checks by the electrical equipment’s user(s) 
  2. A formal visual inspection of the equipment 
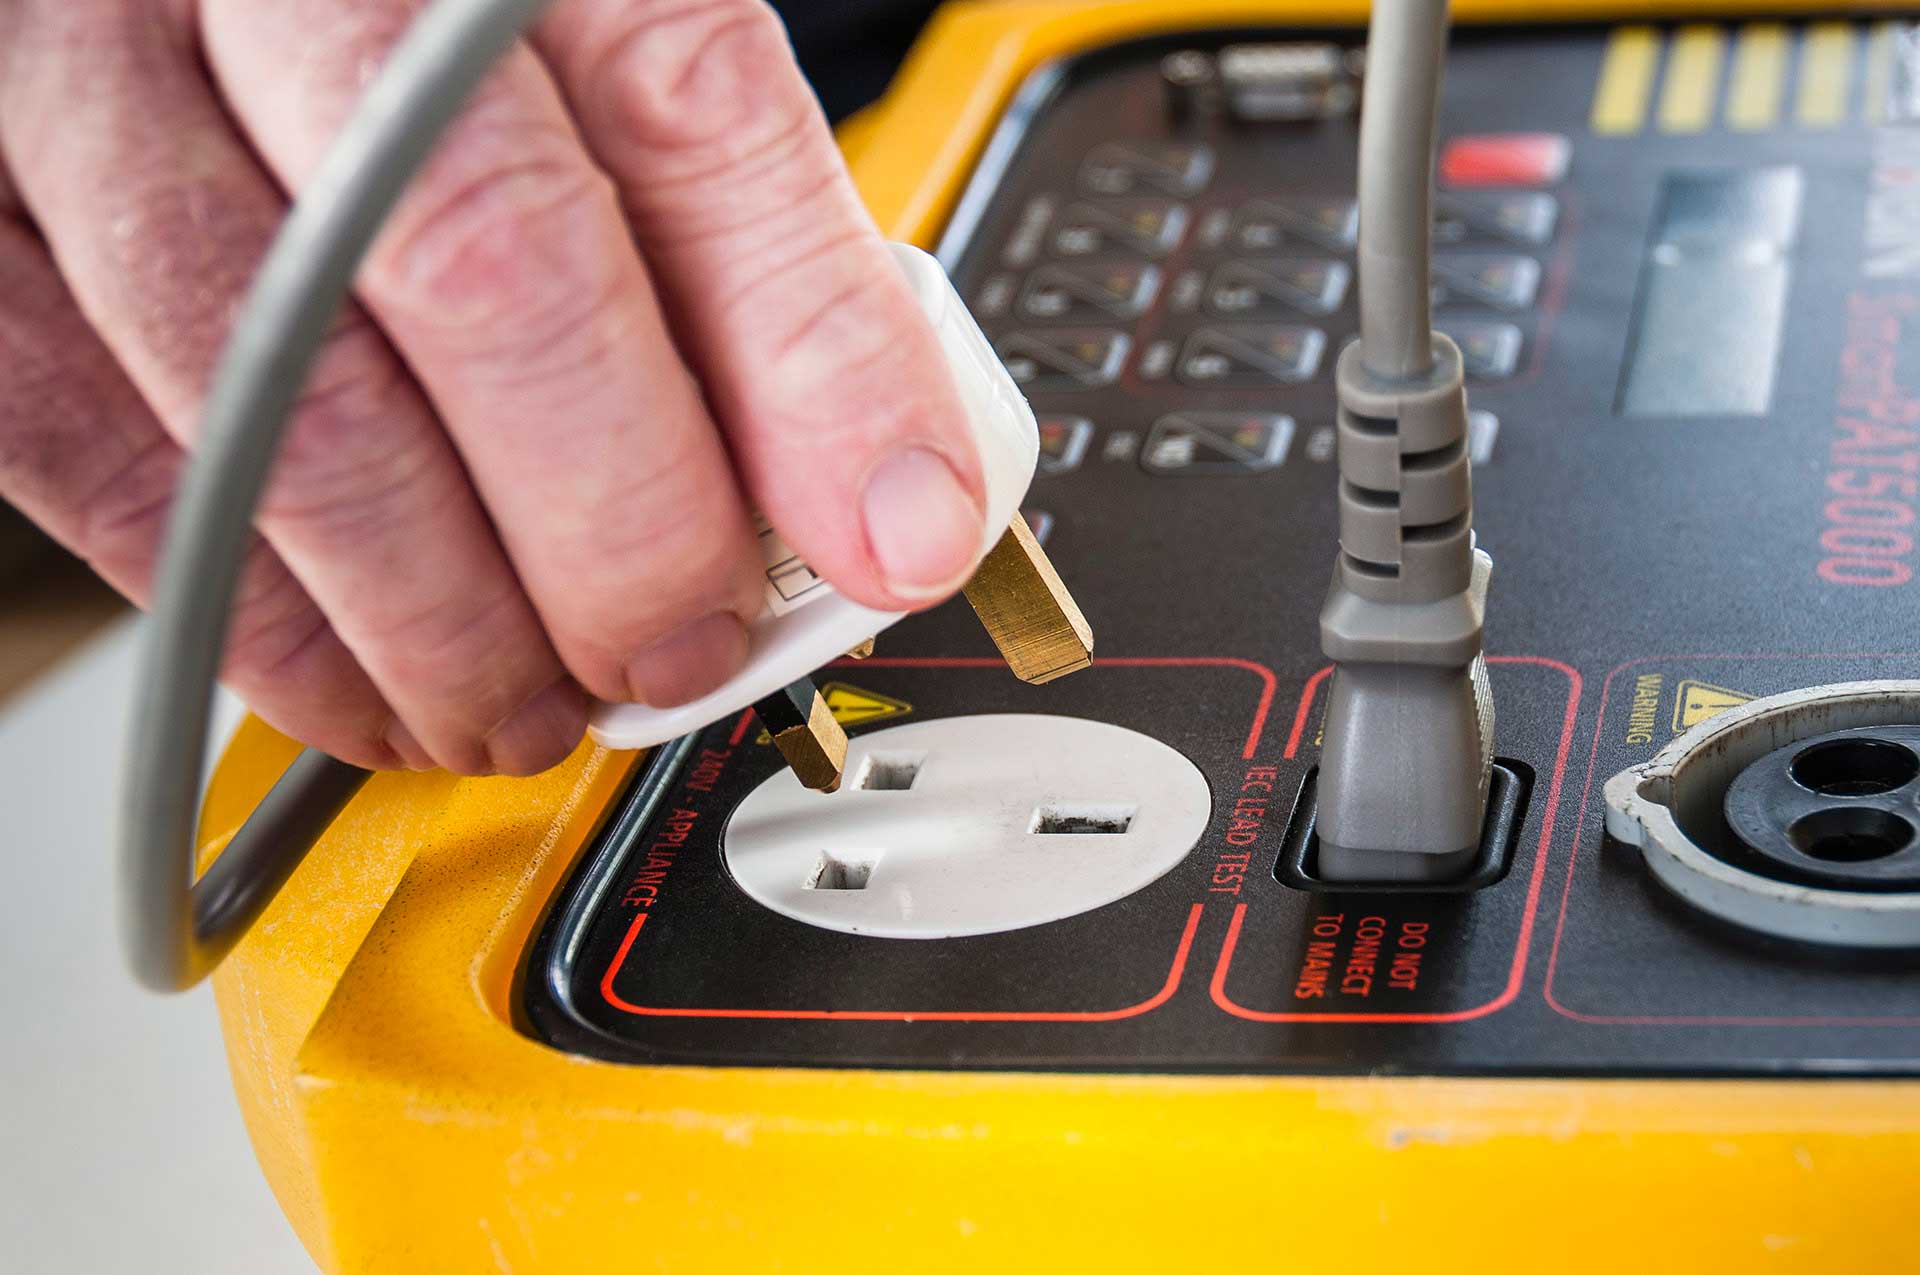
  3. A manual examination of the equipment with a portable appliance tester device (the PAT test)

Any portable electrical appliance (anything with a lead and a plug) needs to be PAT tested. Some examples include laptops and computers, kettles, handheld drills, printers, microwaves etc.

Is PAT testing a legal requirement? 

PAT testing is not a legal requirement. The law does state that any electrical equipment in the workplace must be maintained to ensure it is safe and doesn’t pose any risk to the people using it. It doesn’t, however, specify how the equipment should be maintained, or how often. 

PAT testing is recommended by professionals as the best way to meet these health and safety obligations and to protect yourself and your employees. 

What does electrical PAT testing involve?

Generally, PAT testing involves three steps, user checks, a visual inspection and the manual PAT test using a portable appliance tester. 

User checks

All users should be trained on how to use the equipment safely. This includes understanding the risks associated with the equipment and how to look out for signs of danger. Every individual should be able to visually check the appliance for any signs of damage and understand whether or not it is safe for use. They should also be able to highlight potential hazards such as trapped cables or water hazards. 

Visual inspection 

A formal visual inspection should be carried out by a competent member of staff or a professional (an electrical engineer). The HSE says that this process normally flags up 90% of issues with electrical equipment. The equipment should be switched off and unplugged before carrying out this stage of the inspection. 

  • Check the plug for any signs of damage. This includes cracks, burns, or bent pins. When checking the wiring, you should ensure that the live, neutral and earth wires are all tightly connected. 
  • Check the cable for any signs of damage. This could be cuts or fraying. Any exposed wiring is a fail.
  • Check the appliance itself for damages. This includes cracks, burns, corrosion or other signs of wear and tear.
  • Check the mains socket for damages. This doesn’t relate to the appliance itself, but it’s worth checking for cracks, signs of overheating and any loose fittings on the plug socket. 
  • Residual current device (RCD) checks. The RCD’s test button will trip if the current flowing through the live conductor is different to that in the neutral. 

Manual Examination 

Once the visual inspection is complete, it’s time for the manual examination. This is the stage of the Electrical PAT Testing where the portable appliance tester device is introduced. This device will test the appliance for earth continuity, lead polarity and insulation resistance.

Depending on the results, the appliance will receive a pass or fail sticker. Failed appliances should not be used, and should be removed for disposal or repair. Once repaired, it must pass an additional PAT test to be considered safe for use. 

Who can carry out a PAT test? 

Electrical PAT testing can be carried out by any competent person with the relevant training and equipment. This will likely be a qualified electrician. Interested in learning how to perform PAT testing and other electrical procedures? You might want to consider completing an electrical course.Get in touch with The Skills Centre to learn more about becoming an electrical engineer, or read more about our courses on our website!
Post Info :
Share this :

Other posts you may like

NVQ Level 2 Plumbing Assessments: What the Portfolio and Practical Tests Involve

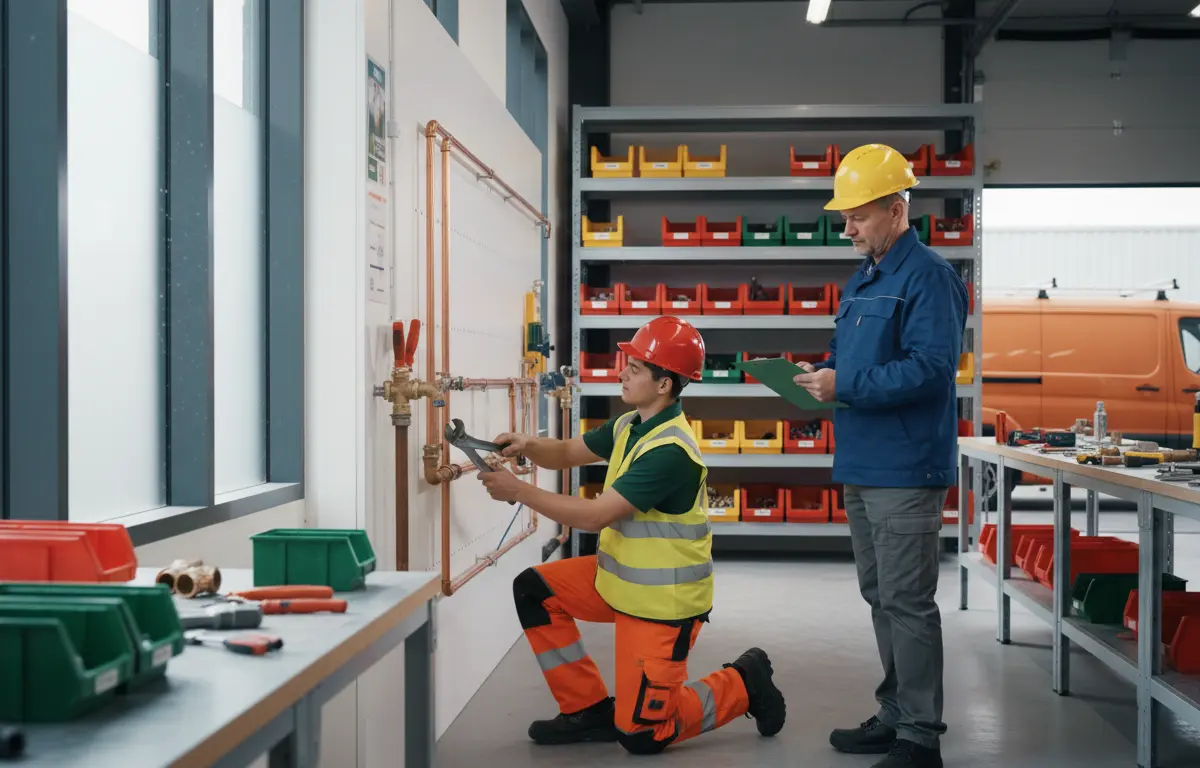
Plumbing trainee being observed by an assessor in a training workshop

If you are looking at plumbing courses for adults, the assessment side of an NVQ can feel like the big unknown. There is no single exam to cram for, so it is fair to ask how you are actually marked. The short answer is that an NVQ Level 2 in plumbing checks that you can do the job, and it does that in a few different ways. This guide walks through each part so you know what to expect.

Exact requirements vary between awarding bodies and training providers, so treat this as a general overview and confirm the details of your own course before you start.

How NVQ assessment differs from exams

A traditional exam asks you to recall information on a set day. An NVQ is competence-based. Your assessor is looking for evidence that you can carry out plumbing tasks safely and to a proper standard, over time and in real or realistic conditions.

That is good news if you learn best by doing. You are not judged on one high-pressure performance. Instead, you build up proof as you go, and you can usually revisit work that was not quite right.

NVQs are generally marked as competent or not yet competent, rather than with percentage grades. If something is not yet at the standard, you will be told what to improve and given the chance to show it again.

Most NVQ Level 2 plumbing routes combine three strands:

  • A portfolio of evidence
  • Practical observations and workplace tasks
  • Knowledge tests

Building a portfolio of evidence

Your portfolio is your record of what you have done and what you know. Think of it as a organised folder (paper or digital) that backs up your skills with real examples.

Typical portfolio evidence can include:

  • Photographs of your work at different stages, such as pipework before it is covered or a completed fitting
  • Job sheets or work records describing what you did, where and how
  • Witness statements from a supervisor or colleague who saw you carry out a task
  • Notes on materials, tools and methods you chose, and why
  • Records of any assessor observations

Each piece of evidence is matched to the standards your course requires. Your assessor will show you how to map your work to those standards, and it is worth asking for a worked example early on.

Tips for a strong portfolio

Keep your evidence dated and clearly labelled. A photo with no context is much weaker than a photo with a short note saying what the task was and what you did. Add to your portfolio little and often rather than leaving it until the end, because it is much easier to describe a job you did last week than one from months ago.

Remember that photos and records should respect the privacy of anyone whose property you work in. Ask your assessor how to handle this properly.

Practical observations and workplace tasks

This is the part where your assessor sees you working. You carry out plumbing tasks while they watch, and they record how you did.

They will be looking at things like:

  • Whether you work safely and use tools correctly
  • Whether you follow a sensible order of work
  • The quality of your finished joints, fittings and installation
  • How you plan the job, prepare the area and leave it tidy
  • Whether you can explain what you are doing and why

Depending on your course, observations may happen in a training environment, in a workplace, or both. If you are on a plumbing apprenticeship, much of your evidence will naturally come from the work you do with your employer. If you are an adult learner on a course, ask your provider how practical evidence is gathered and what you need to arrange yourself.

It is normal to feel watched and a bit nervous. Assessors want you to succeed, and a calm, methodical approach goes down better than rushing.

Knowledge tests and what they cover

Practical skill is only half the picture. A plumber also needs to understand the reasons behind the work. Knowledge tests check that understanding.

These tests typically cover areas such as:

  • Health and safety in the workplace
  • Cold water, hot water and heating system principles
  • Tools, materials and their correct use
  • Drainage and waste systems
  • Relevant regulations and good working practice
  • Communicating with customers and colleagues

Formats can include multiple-choice or written questions, depending on the course. Your tutor can tell you the format and topics, and revising as you go works far better than leaving it all to the end. Linking each topic to a task you have done in practice helps it stick.

Common mistakes and how to avoid them

Most problems with NVQ assessment come down to organisation rather than ability. These are the ones to watch for:

  • Leaving the portfolio until last. Gather evidence as you work, not in a rush before a deadline.
  • Thin descriptions. Say what you did, how you did it and what you checked. Short notes are fine, but they should be specific.
  • Skipping safety steps. Assessors take safe working seriously. Isolating supplies, using protective equipment and tidying up all count.
  • Not asking questions. If you are unsure what counts as evidence, ask your assessor before you spend time on it.
  • Ignoring feedback. If something is marked as not yet competent, treat it as a clear to-do list rather than a setback.
  • Mixing up your records. A simple filing system, with each piece of evidence labelled and dated, saves a lot of stress.

Support and feedback while you work toward the award

You are not expected to work it all out alone. Good providers give you regular feedback so you always know where you stand. Make use of it by booking time with your assessor, asking what is missing from your portfolio and checking what is coming up next.

It also helps to understand the wider picture before you commit. If you are weighing up timescales, our guide on how long a plumbing course takes explains what affects the length of study. If you are changing careers, our page on adult plumbing courses covers the options in more detail, and our plumbing course guide looks at training routes and where they can lead.

Some learners also want to add gas qualifications later. If that is on your mind, take a look at our gas plumbing course information to see how the two areas can fit together.

Ready to talk it through?

Assessment is much less daunting once you know how it works. If you would like to chat about plumbing courses for adults, how the portfolio and practical tests would work for you, or which route suits your situation, get in touch with the Skills Centre UK team. We are happy to answer your questions and help you decide on a sensible next step.

Frequently asked questions

How is an NVQ Level 2 in plumbing assessed?

It is assessed through a mix of a portfolio of evidence, practical observations of your work and knowledge tests. The aim is to show that you can carry out plumbing tasks competently and safely, rather than to test you in a single exam.

What goes in an NVQ plumbing portfolio?

A portfolio typically includes photographs of your work, job records, witness statements, notes on your methods and materials, and records of assessor observations. Each item is matched to the standards your course requires.

Can I retake a part of the NVQ if I do not pass first time?

NVQs are usually marked as competent or not yet competent. If you are not yet competent in an area, your assessor will explain what to improve and you can show your skills again. Check your provider's policy for the details.

Is there a written exam in a plumbing NVQ?

Most courses include knowledge tests alongside the practical work. These can be multiple-choice or written questions on topics such as health and safety, water and heating systems and working practice. Your tutor can confirm the format for your course.